
Skip to content
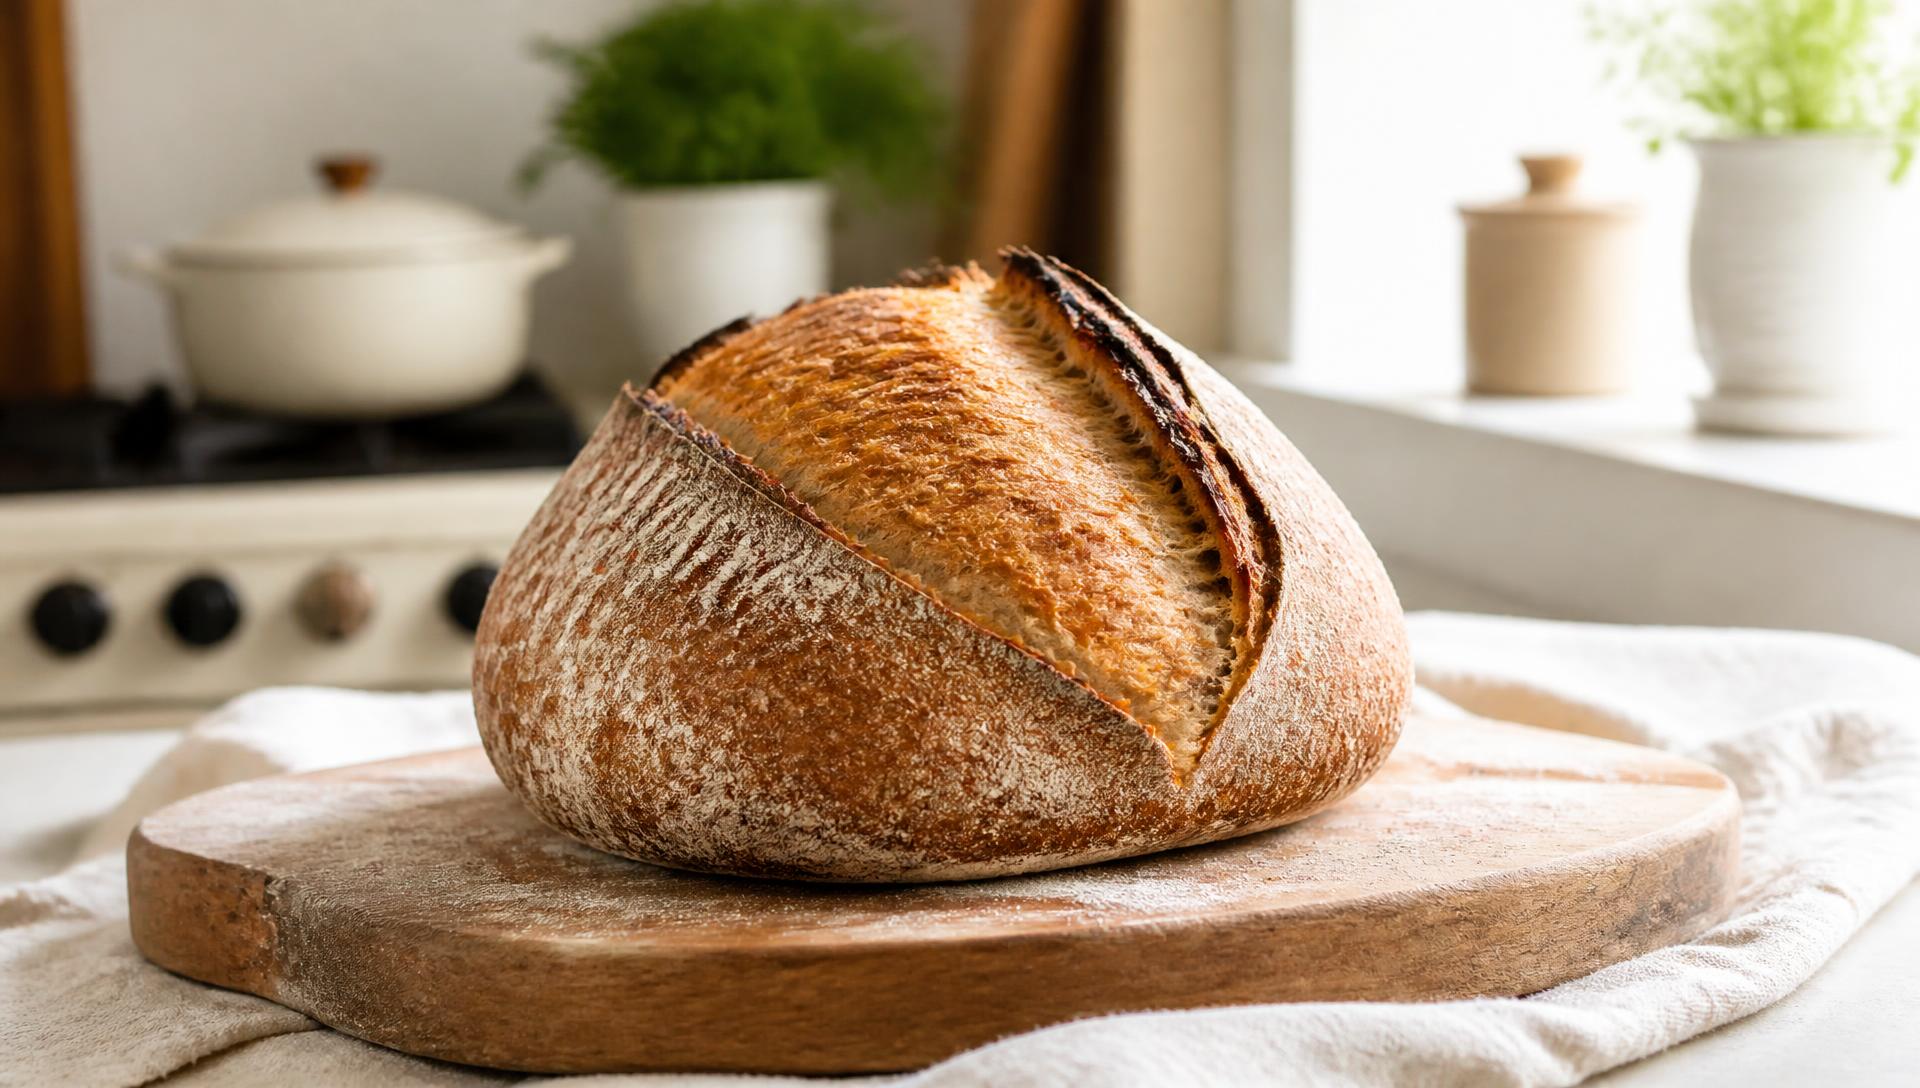
A round sourdough loaf with a deeply scored, golden-brown crust cooling on a wooden board in a sunny home kitchen
Chef Dawn smiling in a black chef coat at the beach

Your Two-Day Class Companion

Your Sourdough Class Home Base

Everything you need to make the loaf, understand the process and trust your hands—from waking your starter on Day 1 to hearing the crust crackle after the bake on Day 2.

The clock provides structure. The dough provides the answer.

No SMS on this device? Call or text 917-392-5500

  • Four simple ingredients
  • Exact weights in grams
  • Day 1 and Day 2 timelines
  • The “why” behind every step
  • Troubleshooting help
  • Chef Dawn is one text away

Always Visible

Your Bread Formula

Active Starter Feed

  • mature starter25 g
  • water50 g
  • bread flour50 g

Main Dough

  • bread flour450 g
  • water300 g
  • active starter100 g
  • fine salt10 g

Use a digital scale. Flour packs differently into measuring cups, and small volume differences can substantially change dough hydration.

Question about your measurements? Text Chef Dawn.

Keep It Beside You

Download Your Complete Two-Day Sourdough Guide

This 11-page guide gives you far more than a recipe. It explains what to do, what to notice and why every step matters. Keep it open on your phone or print it before class.

Inside the guide

  • The complete bread map
  • Exact starter and dough formula
  • Essential equipment
  • Day 1: wake, weigh, mix, fold, ferment and shape
  • Day 2: preheat, score, bake, cool and evaluate
  • “Why it matters” explanations for every major step
  • Visual and tactile cues for reading the dough
  • Troubleshooting by symptom
  • Starter care after class
  • Nutrition and digestion information
  • Clear food-safety and medical cautions
  • Evidence sources behind the nutrition section

No email form, no login, no checkout. The guide downloads immediately.

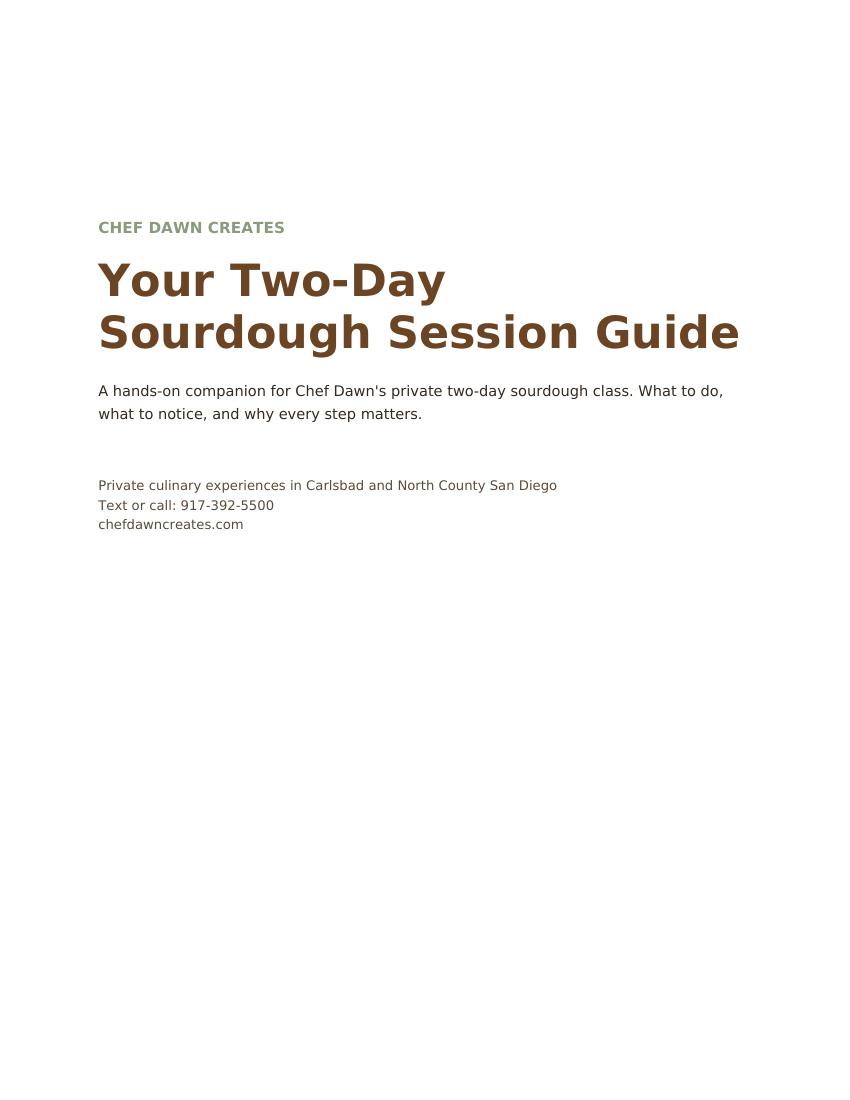
Cover page of Chef Dawn's Two-Day Sourdough Session Guide

11 pages · PDF · print-friendly

The Two-Day Process

Your Class Plan

Day 1 builds the dough. Day 2 bakes the loaf. Follow the order, then read the dough to set the pace.

Day 1: Build the Dough

Starter, Dough and Fermentation

  1. Wake and feed the starter.
  2. Weigh the ingredients.
  3. Mix the dough.
  4. Rest for 30 minutes.
  5. Complete three sets of stretch-and-folds, about 30 minutes apart.
  6. Bulk ferment until the dough shows meaningful expansion, bubbles, strength and a gentle jiggle.
  7. Preshape.
  8. Bench rest for about 30 minutes.
  9. Final shape.
  10. Place seam-side up in a rice-floured banneton.
  11. Give the dough its final proof and refrigerate for 8–24 hours.

Why Day 1 matters: This is when you build the gluten network, create gas and flavor, and learn to recognize properly fermented dough. A fixed timer cannot tell you everything; temperature and starter strength change the pace.

I Have a Day 1 Question—Text Chef Dawn
Day 2: Bake the Loaf

Score, Bake and Cool

  1. Place the Dutch oven in the oven.
  2. Preheat to 450°F for at least 30 minutes.
  3. Keep the dough refrigerated until the oven is fully ready.
  4. Turn the cold dough onto parchment or a bread sling.
  5. Score with one clean, confident slash.
  6. Carefully lower the loaf into the hot Dutch oven.
  7. Cover and bake for 20 minutes.
  8. Remove the lid and bake another 15–25 minutes, until the crust reaches the desired color.
  9. Transfer the loaf to a cooling rack.
  10. Wait at least one hour before slicing.

Why Day 2 matters: The hot covered pot traps steam so the loaf can expand before the crust sets. Scoring controls where that expansion happens. Cooling is part of baking because the crumb continues to set after the loaf leaves the oven.

I Have a Day 2 Question—Text Chef Dawn

Watch the Process

Beginner Sourdough—A Visual Walkthrough

Some techniques make more sense when you can see the dough move. Use this supplemental visual tutorial to watch the mixing, folds, shaping, scoring and baking process. Chef Dawn’s class and guide will help you apply these techniques to your starter, flour, kitchen temperature and oven.

Important: This is a supplemental tutorial. Follow Chef Dawn’s class formula and personalized instructions if any timing or technique differs.

Video tutorial presented through the creator’s official YouTube embed.

What To Look For

Read the Dough, Not Just the Clock

Active Starter

Bubbles throughout, meaningful expansion, a rounded or just-flattening top and a clean tangy aroma.

After Mixing

A rough, sticky, shaggy mass with no dry pockets. It is not supposed to look smooth yet.

After the Folds

The dough should feel smoother, stronger and less slack after each set.

Bulk Fermentation

Look for meaningful expansion, bubbles along the sides or surface, a smoother top, a lighter feel and a gentle jiggle.

Shaped Dough

The surface should feel taut and smooth without tearing. Preserve the gas instead of pressing the dough flat.

Finished Loaf

Look for strong oven spring, an opened score, a fully set crumb and a crust baked to the color and flavor you enjoy.

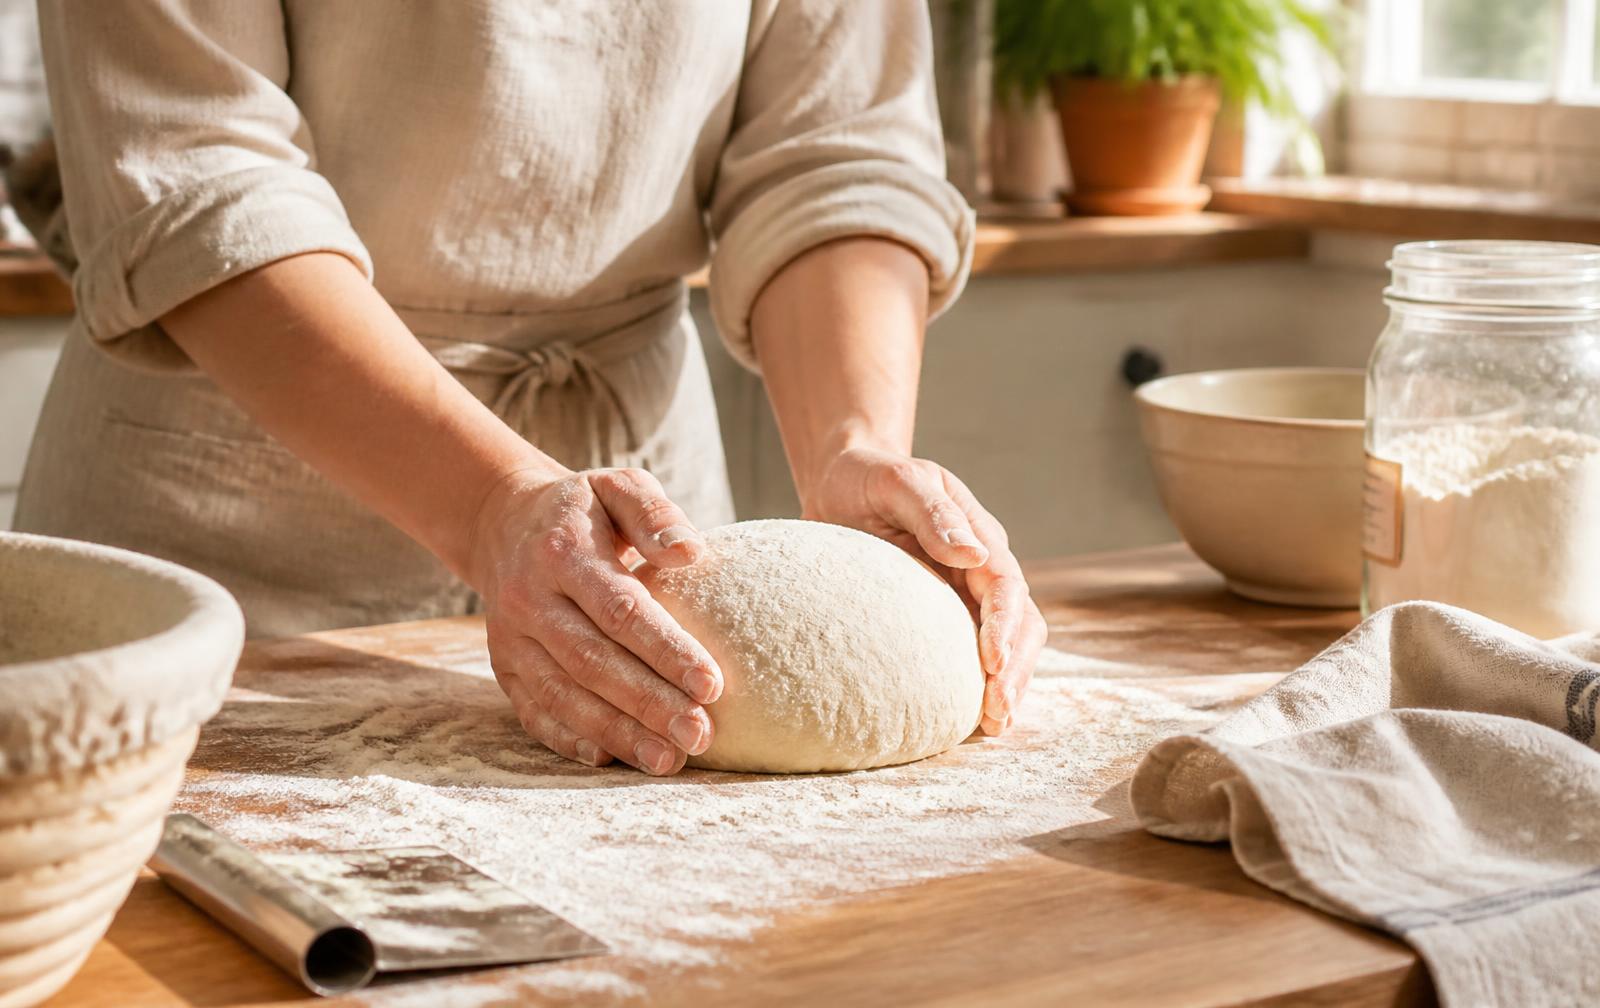
Floured hands shaping a round of sourdough dough on a wooden counter beside a banneton

Temperature changes the timeline. Cooler dough moves more slowly; warmer dough moves more quickly. The guide explains how to respond.

Fix It Fast

Troubleshooting

Find your symptom, open it and keep going.

My starter barely rises.

It may be cold, underfed or not yet mature. Give it more time, use a warmer location and feed consistently before mixing dough.

Still unsure? Send Chef Dawn a photo and question.
My dough is extremely sticky.

Use damp hands and a scraper. Do not automatically bury it in extra flour. Watch whether the folds build strength.

Still unsure? Send Chef Dawn a photo and question.
My dough barely expands.

The starter may be weak, the dough may be cool or bulk fermentation may need more time.

Still unsure? Send Chef Dawn a photo and question.
My dough became loose and fragile.

It may be over-fermented or the flour may not support the hydration. Shape promptly and shorten the next bulk fermentation.

Still unsure? Send Chef Dawn a photo and question.
My loaf spread flat.

Review starter strength, bulk duration, shaping tension and final proof. Any one of these can limit oven spring.

Still unsure? Send Chef Dawn a photo and question.
My crumb is dense.

Common causes include under-fermentation, weak starter or insufficient dough strength.

Still unsure? Send Chef Dawn a photo and question.
My crumb is gummy.

Allow the loaf to cool fully. If the problem continues, bake longer and review fermentation.

Still unsure? Send Chef Dawn a photo and question.
The bottom burned.

Place a sheet pan on the rack beneath the Dutch oven, change the rack position or reduce the temperature during the uncovered portion.

Still unsure? Send Chef Dawn a photo and question.

Texting opens your own messaging app, where you can attach a photo if your device allows it.

Why Sourdough

What Fermentation Changes

Sourdough fermentation allows yeasts and lactic-acid bacteria to consume available carbohydrates and create carbon dioxide, organic acids and flavor compounds. Enzymes also begin modifying proteins and carbohydrates before baking.

  • Fermentation creates flavor and gas.
  • Acidity changes dough behavior and contributes to keeping quality.
  • Fermentation may reduce some fructans and phytic acid depending on the flour, culture, time and temperature.
  • Whole-grain flour generally provides more fiber and micronutrients than refined flour.
  • Sourdough is still bread and remains a concentrated source of starch and calories.
  • Ordinary baked sourdough is not a reliable source of live probiotics because baking kills most starter organisms.
  • Health and blood-glucose responses differ among people and recipes.

Wheat sourdough is not gluten-free.

Standard sourdough made with wheat flour is not safe for celiac disease and is not appropriate for a wheat allergy. Fermentation does not reliably reduce gluten to a medically safe level.

Educational information only; not medical or nutrition advice. Anyone with celiac disease, wheat allergy, diabetes, IBS or another diagnosed condition should follow individualized guidance from a qualified clinician.

Chef Dawn in a black chef coat, smiling with hands clasped

You Are Not Baking Alone

Stuck? Text Chef Dawn.

Sourdough questions are usually easier to answer when Chef Dawn knows exactly where you are in the process. Tell her the step, the approximate time, your room temperature if you know it and what the dough looks or feels like.

Before you text, include:

  • Your name
  • Day 1 or Day 2
  • The step you are working on
  • When you started that step
  • Approximate room temperature
  • What you see, smell and feel
  • A photo, if helpful

Chef Dawn’s Three Rules

Use a scale. Accuracy makes learning possible.

Watch the dough, not just the clock.

Take notes. Your next loaf should teach you something from this one.

Make the Loaf. Learn From It. Bake Again.

Confidence comes from repeating the process and changing one variable at a time. Keep your guide, record what happened and bake again while the feel of the dough is still fresh in your hands.

Explore More Chef Dawn Experiences →